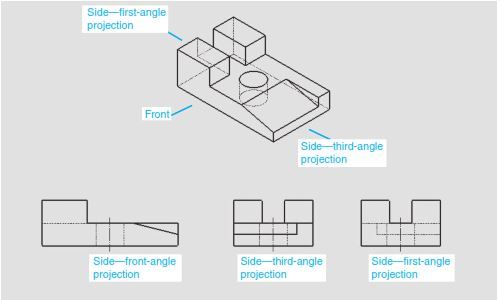
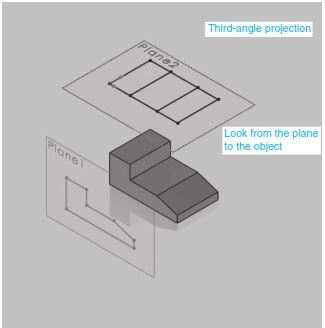
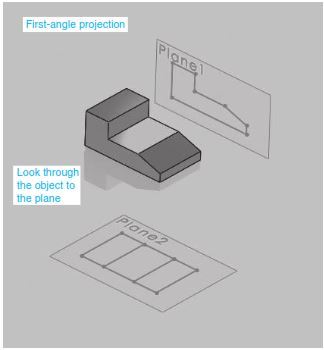
Figure 1 shows an object with front and top orthographic views created using third-angle and first-angle projections. For third-angle projections the orthographic view is projected on a plane located between the viewer’s position and the object. For first-angle projections the orthographic view is projected on a plane located beyond the object. The front and top views for third-and first-angle projections appear the same, but they are located in different positions relative to the front view.

Figures 1
The side orthographic views are different for third- and first-angle pro-jections. Third-angle projections use a right-side view. First-angle projections use a left-side view. Figures 1 and 2 show the side views for two different objects. For third-angle projections, the viewer is located on the right side of the object and creates the side orthographic view on a plane located between the view position and the object. For first-angle projections the viewer is located on the left side of the object and creates the side orthographic view on a plane located beyond the object.
To help understand the difference between side view orientations for third and first-angle projections, locate your right hand with the heel facing down and the thumb facing up. Rotate your hand so that the palm is facing up this is the third-angle projection orientation. Return to the thumb-up position. Rotate your hand so that the palm is down—this is the first-angle view orientation.


